WSL - Installation on Windows 11 Walkthrough
practical guide for installing WSL on Windows 11


The installation of Windows Subsystem for Linux (WSL) in Windows 11 is easy and it can be done in fewer steps.
However, the major problem in the installation of WSL is the following error during the installation.
"A connection with the server could not be established" or "WslRegisterDistribution failed with error 0x800701bc"
If you face the same error, I will show you how to install the WSL without getting the above error message.
Let's begin...

#1 Connecting to VPN
Firstly, Connect the system to a VPN and if you don't have one, try the free VPN providers of your choice. (example Proton VPN free version).
Why we must connect to a VPN to install WSL?
Because the Indian ISP provider will not allow the particular URL "https://raw.githubusercontent.com/microsoft/WSL/master/distributions/DistributionInfo.json" which provides the download links of the Linux Subsystem.
Once you are connected to the VPN, move to the next step.
#2 Turn on Host Network Services
Navigate to the Window icon and search for Services.exe.

Open the Services app and scroll down until you find "Host Network Services".

Right-click on it and hit start.

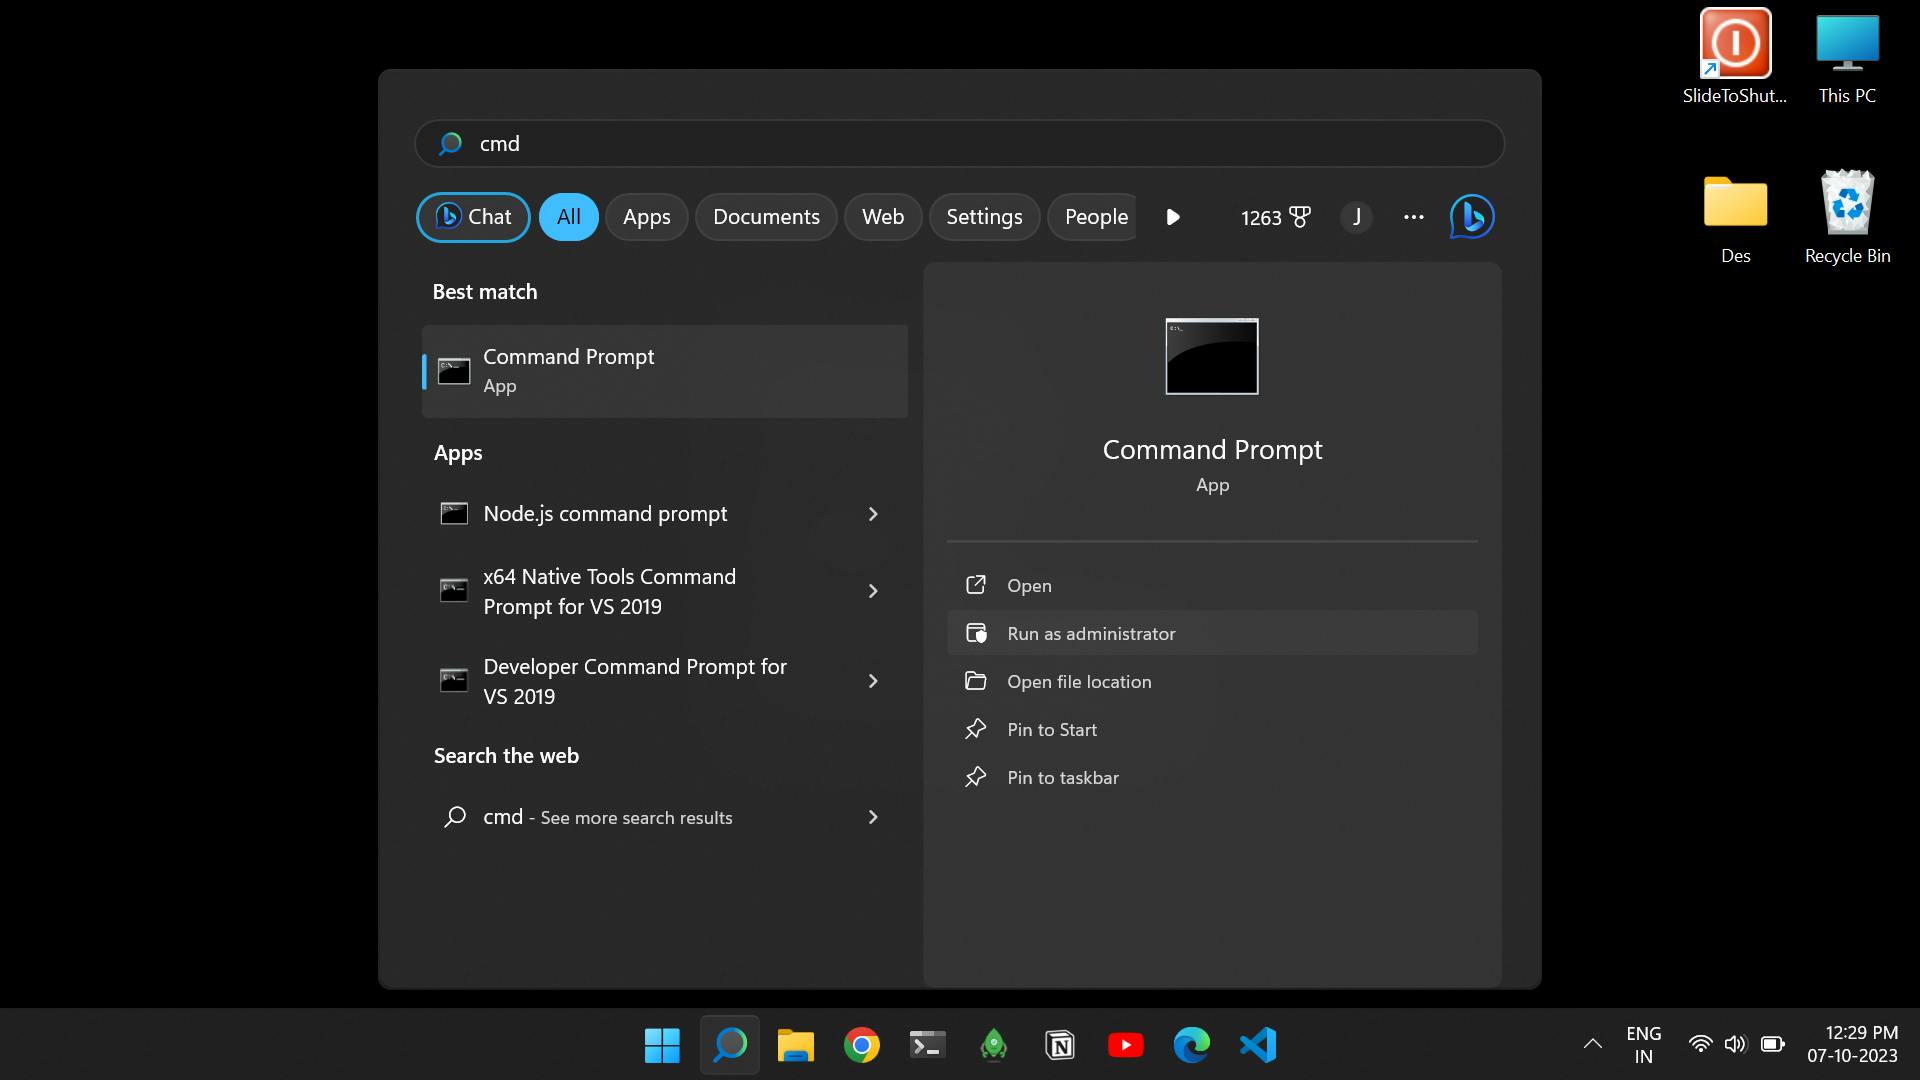
#3 Open CMD
Open the command prompt and run as administrator.
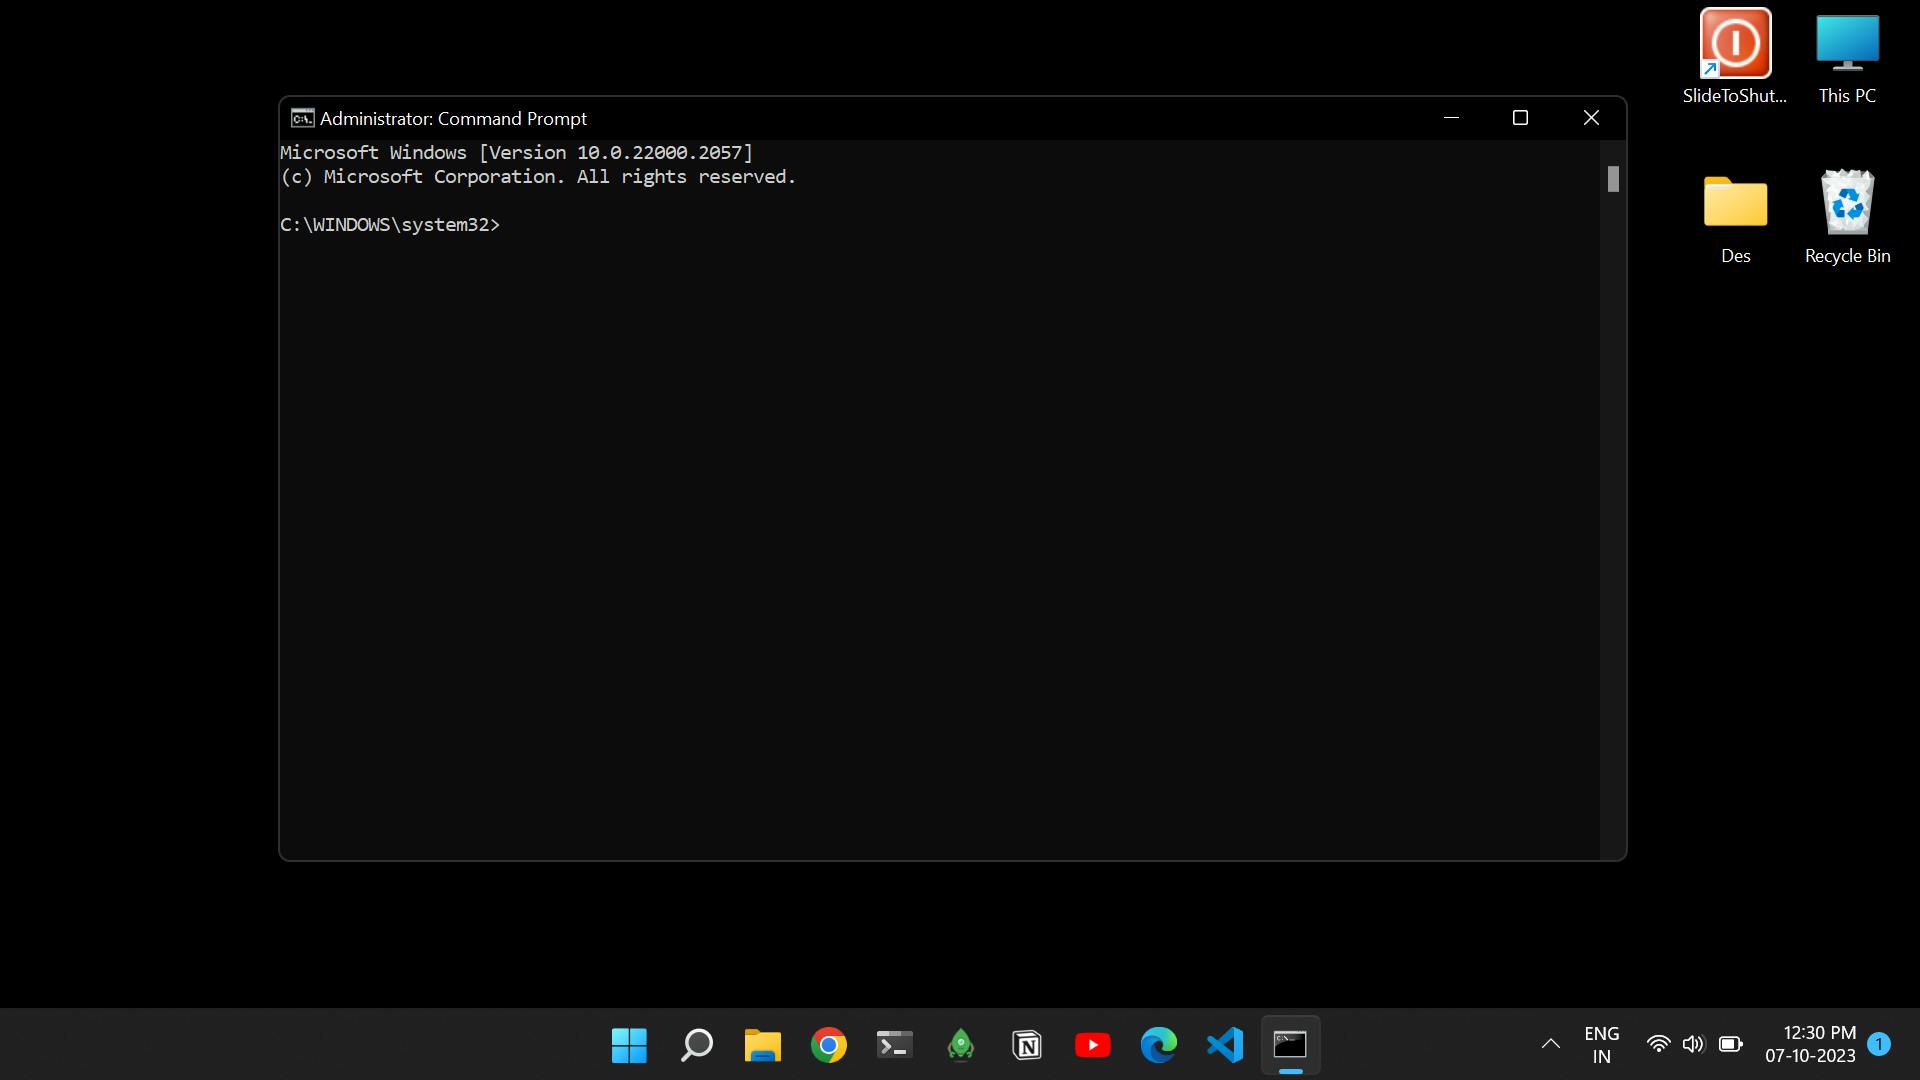
#4 Install WSL
Type "wsl --install" in the cmd, which will install the default "Ubuntu version"
wsl --install
and if you want a specific distro type the following command.
wsl --install -d <Distribution Name>
it may take some time and after installation close the cmd.

Follow the steps below only if you get any errors. Otherwise, go to the Step 5.
If you get an error, type the following command on the cmd which will update the "window subsystem for linux" application.
wsl --update

#5 Open WSL
Type the "Ubuntu" or the Distro name in search. Once it shows, open it.

It will start installation automatically and wait for a few seconds.
If you still get an error, type the following command on the cmd which will update the "window subsystem for linux" application.
wsl --update

Open Ubuntu again and will work this time.
The installation will start automatically.
#6 WSL Setup
It will ask for the username type your name or preferred name you want, and click enter. Then type the password.

That's it. The installation of WSL was successful!
Now disconnect the VPN. You have successfully installed WSL.
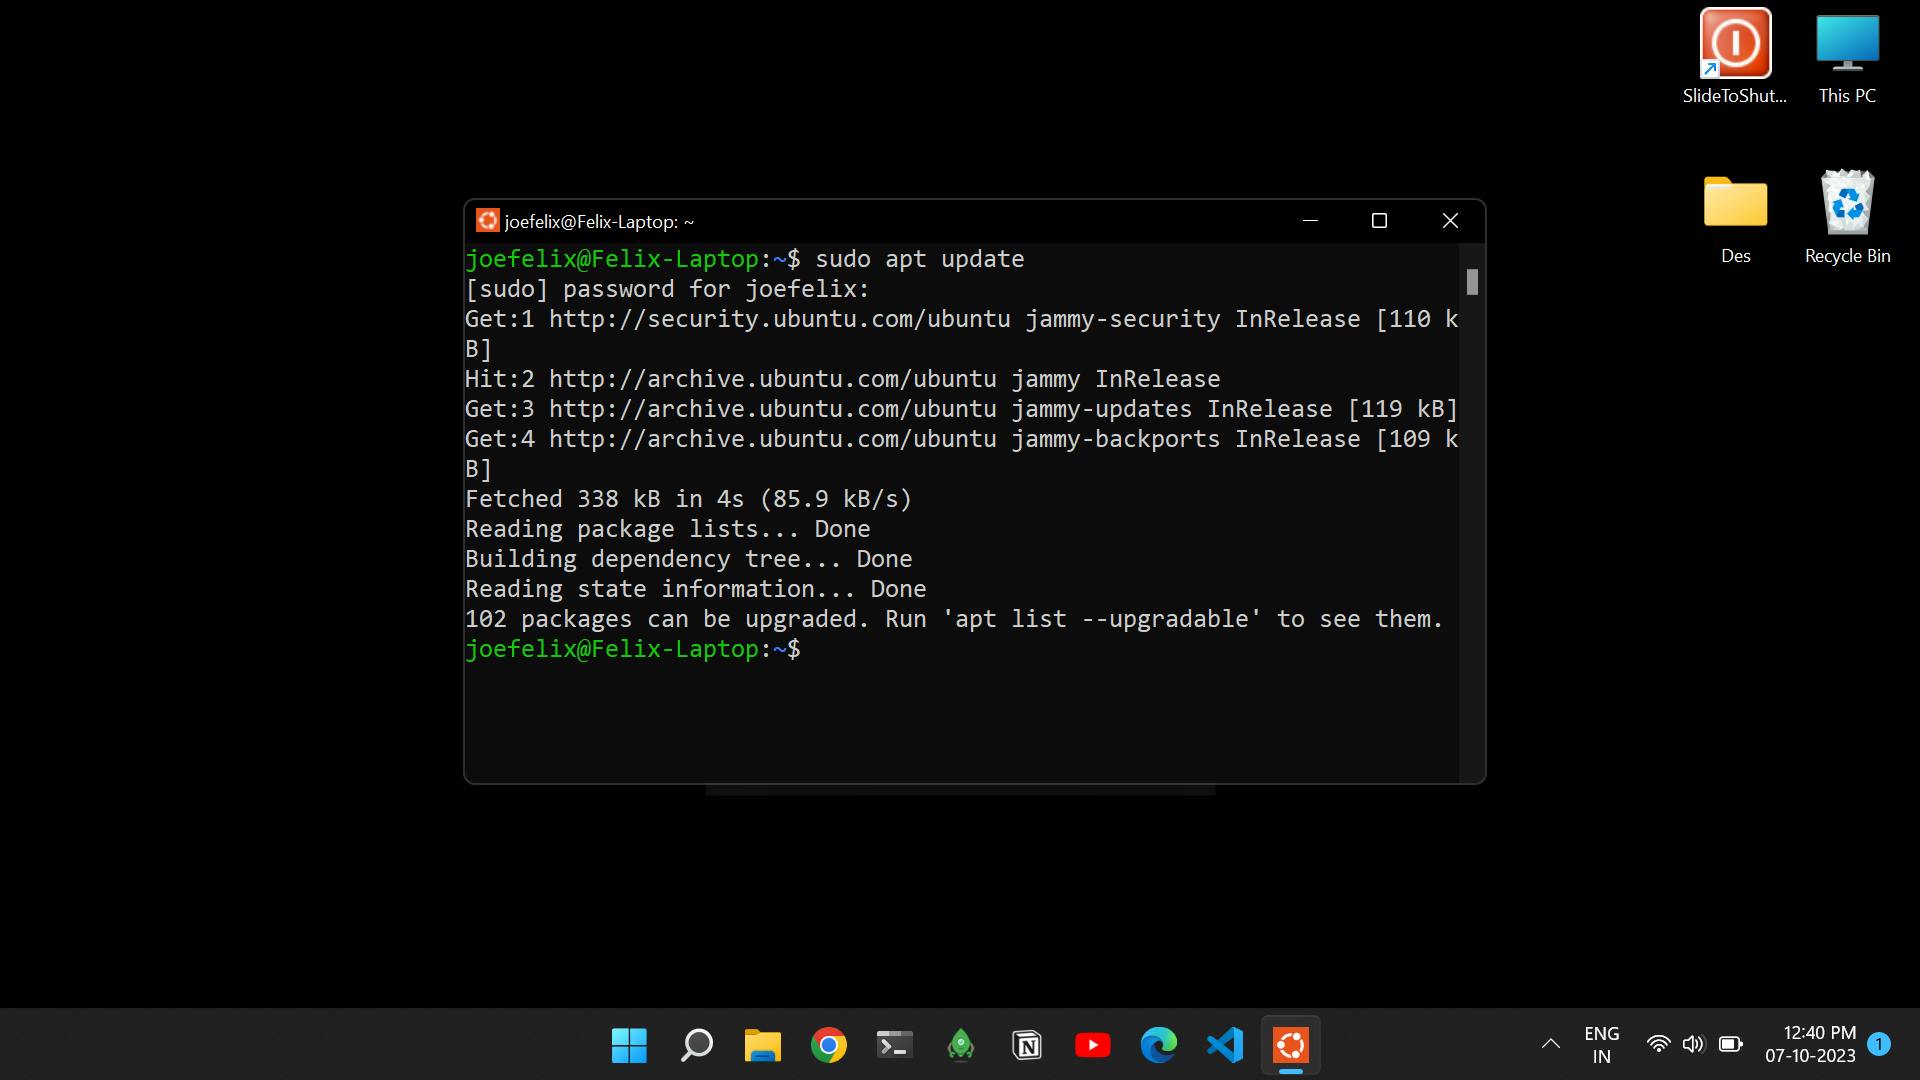
#7 Final Touch
After the terminal shows up, type the following command to update the apt package for future application installation through the command line.
sudo apt update
Hope it helped you. See you with the new one. Bye... 🙌
Reference: